Matching paint for your room

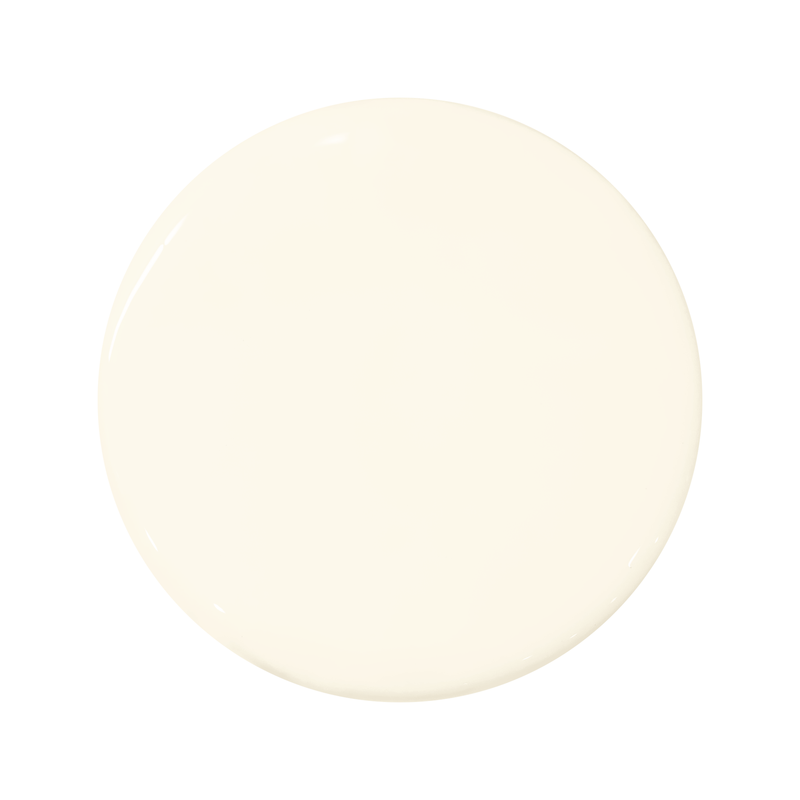
A warm, creamy off white.
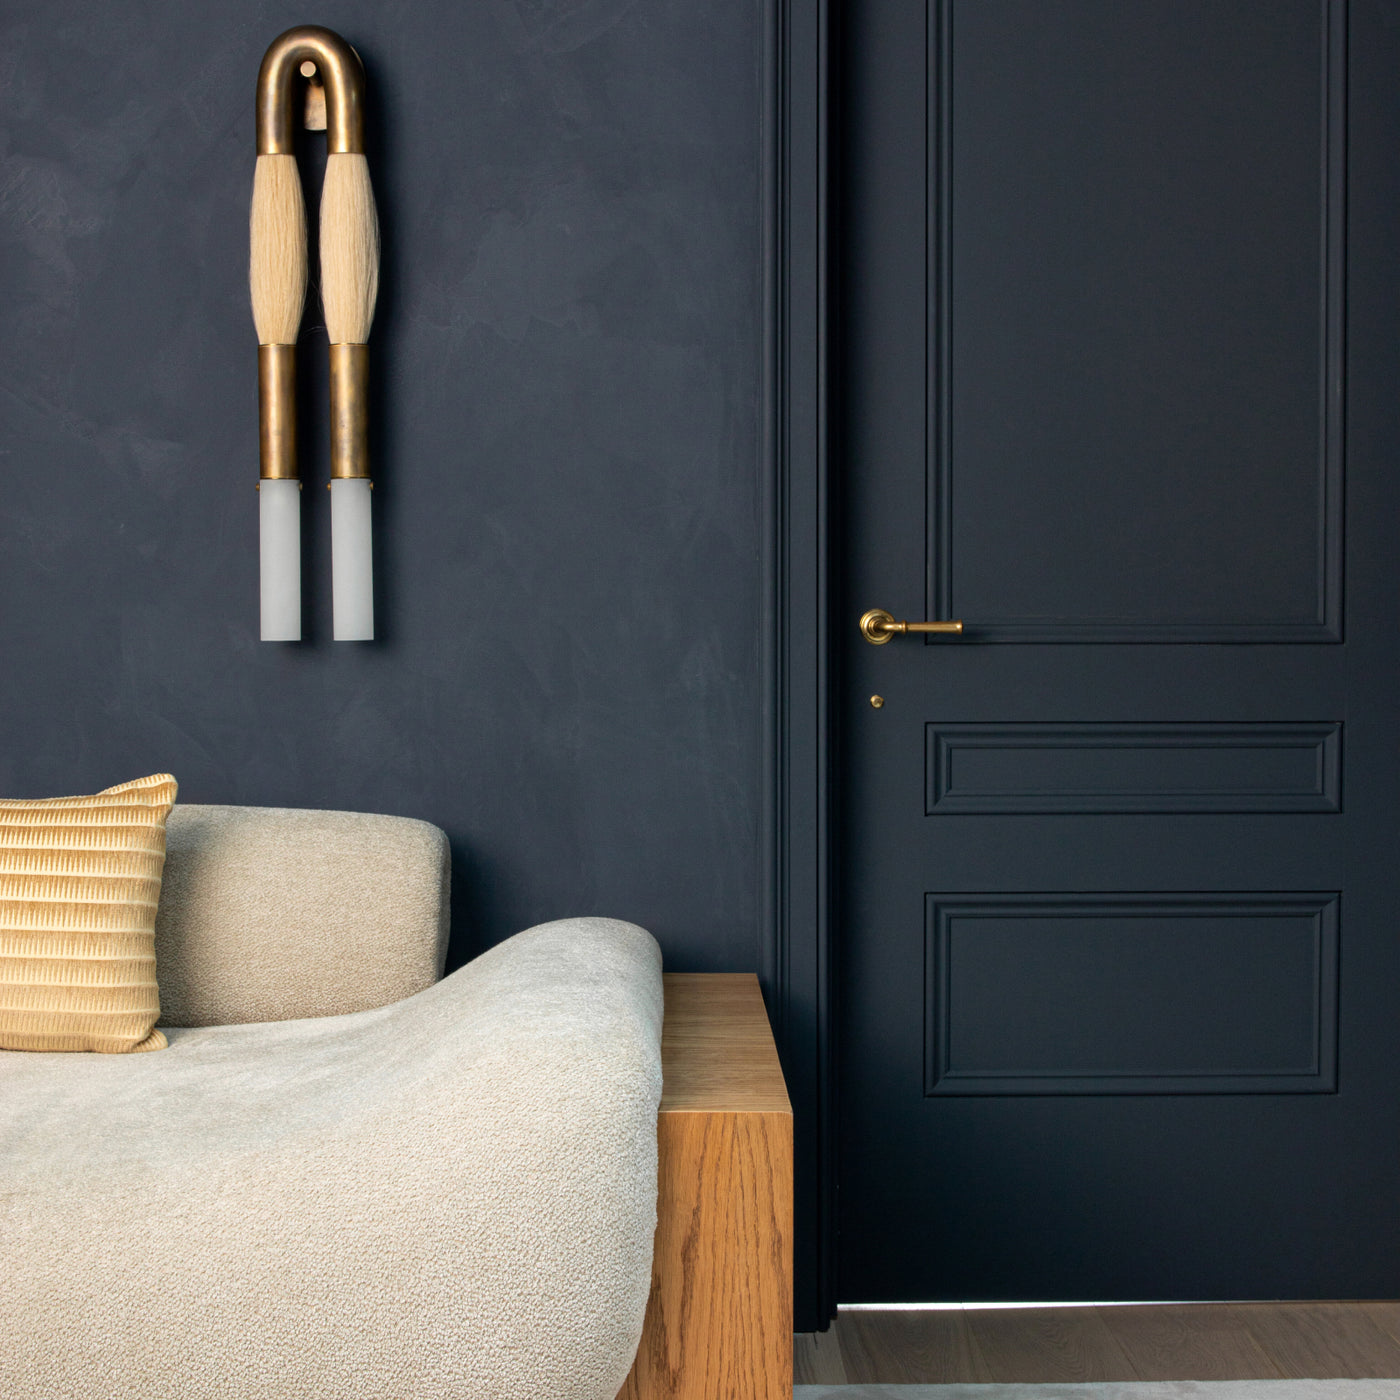
Designer @amberinteriors @all.sorts.of
Couldn't load pickup availability
Portola’s Roman Clay is an eco-friendly plaster finish ideal for smooth interior walls.
This decorative gypsum based plaster is made from natural ingredients, is zero VOC formulated, and lends a rustic originality to interior surfaces. Roman Clay is smooth to the touch with a modeling marble-like effect, comparable to Venetian plasters but with a more subtle, organic appeal at an affordable cost.
Portola Paints Roman Clay is applied using a metal or plastic putty knife/trowel which provides a versatile finish able to achieve a wide range of stone, stucco and marble-like effects, making it a perfect fit in both traditional and contemporary settings.
Achieve a natural, ultra low sheen finish by leaving the final coat unsanded or add a protective seal and slight sheen with Portola’s Roman Clay Topcoat.
Roman Clay is available in 65+ standard colors designed to showcase color palletes that are found in the beauty of nature.
**You may also want to consider our Portola Paints Lime Wash for a more subtle brush applied application if our Roman Clay is not suitable for your project.**
Roman Clay was designed for smooth interior drywall preferably level 5 for the best results.
Our Roman Clay was NOT designed for exterior use or millwork. We recommend our acrylic / enamel series for these specific applications.
Our Roman Clay is sold by weight not volume.
These square footage estimates are based on the average to include both a base coat and final coat.
Need assistance calculating your square footage? Click here
For new drywall surfaces:
For previously painted walls:
PRO TIP:
Step 1: Primer
Step 2: Base Coat of Roman Clay
Use a larger stainless steel putty knife/trowel unless the space is small
Step 3: Lightly sand high or rough spots with 400 grit sandpaper
Step 4: Final Coat Process
This is where you will start to see more highlights and movement
Optional Step: Applying our Roman Clay Topcoat
Pro Tip: If the finish is applied in a high moisture area, multiple thin coats of the sealer may be applied for added protection.
Please Note: Portola's Roman Clay Topcoat does NOT waterproof the finish. A barely damp rag should be used to wipe down the sealed or unsealed finish to try to avoid permanent water marks from penetrating the finish.
Roman Clay should be stored in a cool area out of direct sunlight.
For the best storage we recommend using a spatula to clean the sides and lid of the bucket to prevent material from drying up and falling into the material at the bottom.
For high traffic areas we recommend our Roman Clay Topcoat sealer. This sealer will protect from basic dirt and wear. It is not resistant to some oils or liquids - so it is not recommended for areas with constant direct contact with water, or where grease or harsh chemicals might come in contact (i.e. kitchen backsplash).
As long as the sealer (Roman Clay Topcoat) has been applied on top of the Roman Clay it is washable with light cleaning detergents. It is recommended to use a little mild dish soap in warm water with the soft side of a sponge to clean scuffs.
We would also recommend re-applying the sealer every year or so just to add an extra layer of protection if the Roman Clay is in high traffic areas.
For small scuffs that won't come out with soap and water you can use a very fine grit sandpaper on the area to remove it. If you do this you will want to apply a thin layer of the protective sealer on to the sanded area. You can consider buffing in the sealer with an old t-shirt or a painter's rag.
If there is a deep gauge there may be a need to apply a thin coat of the color and a layer of the sealer once the color is repaired.
Store and keep out of reach of children. As with all paints it is important to protect yourself by wearing protective eye wear and masks during preparatory work such as scraping and sanding. During application, use protective eye wear as it can irritate the eyes.
Do you need matching paint for the rest of the room? Below are perfect color matches in other finishes.

Roman Clay is a paint/plaster hybrid material intended to be used on smooth interior walls. Roman Clay is applied in thin overlapping layers with a trowel or putty knife.
Applied with a putty knife or trowel, Roman Clay is a bit more time consuming to apply compared to traditional interior paints, but is very user friendly and very easily controlled. All the movement and dimension that you see in a finished product is visable during application.
Overlapping layers applied with a putty knife will create variation in color. Light colors will show less movement. Also, to avoid gray burnish marks you may want to use plastic putty knives.
Overlapping layers applied with a putty knife will create variation in color. Dark colors will show more movement. We recommend using flexible stainless steel knives for medium to dark colors.
Roman Clay Topcoat is a water based sealer that can be applied over any Roman Clay color to create a subtle sheen and a wipable surface. The Topcoat will darken the colors 10-20% depending on the shade. It is recommended for use in high traffic areas.
Learn about the differences between Lime Wash & Roman Clay! This informative video will help you choose the perfect finish for your space.
Which one will you choose?