Matching paint for your room

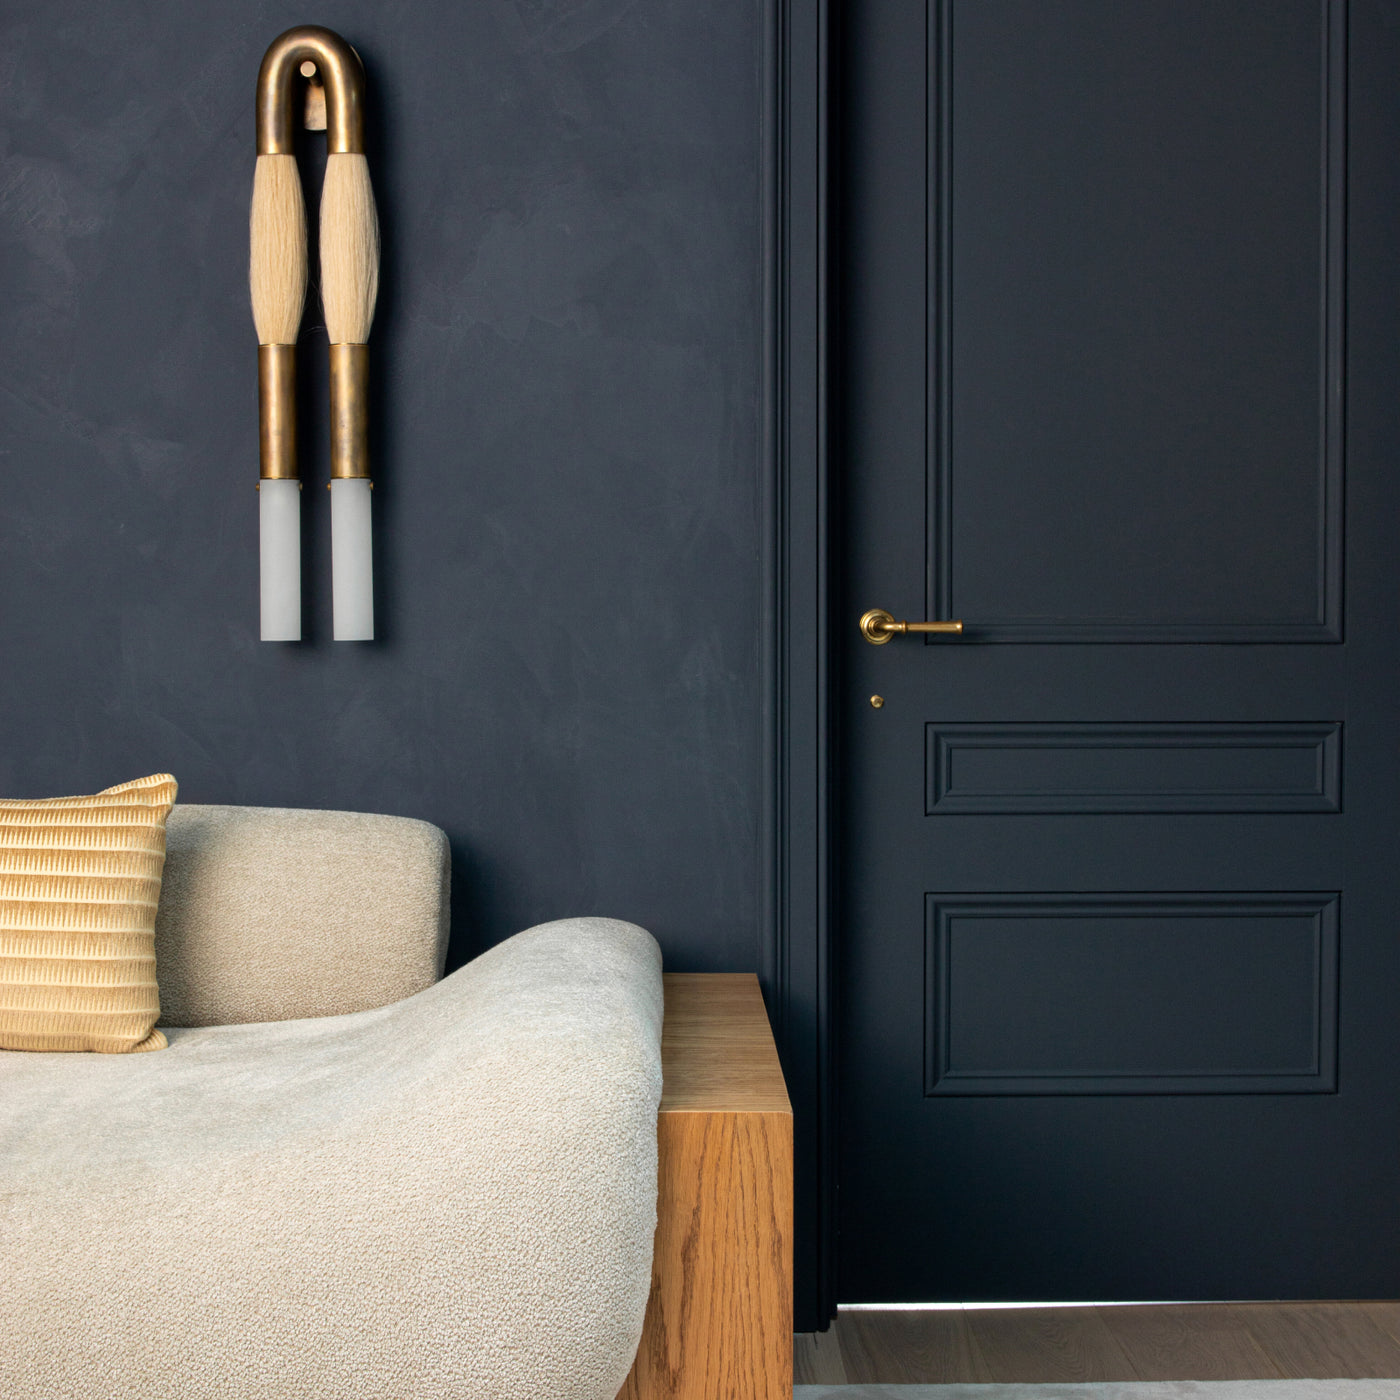
In The Navy
$27
Our Current Hours of Operation are Mon-Fri 8am-5pm & Sat 9am-2pm PST.


Deep navy with a dusty gray undertone.
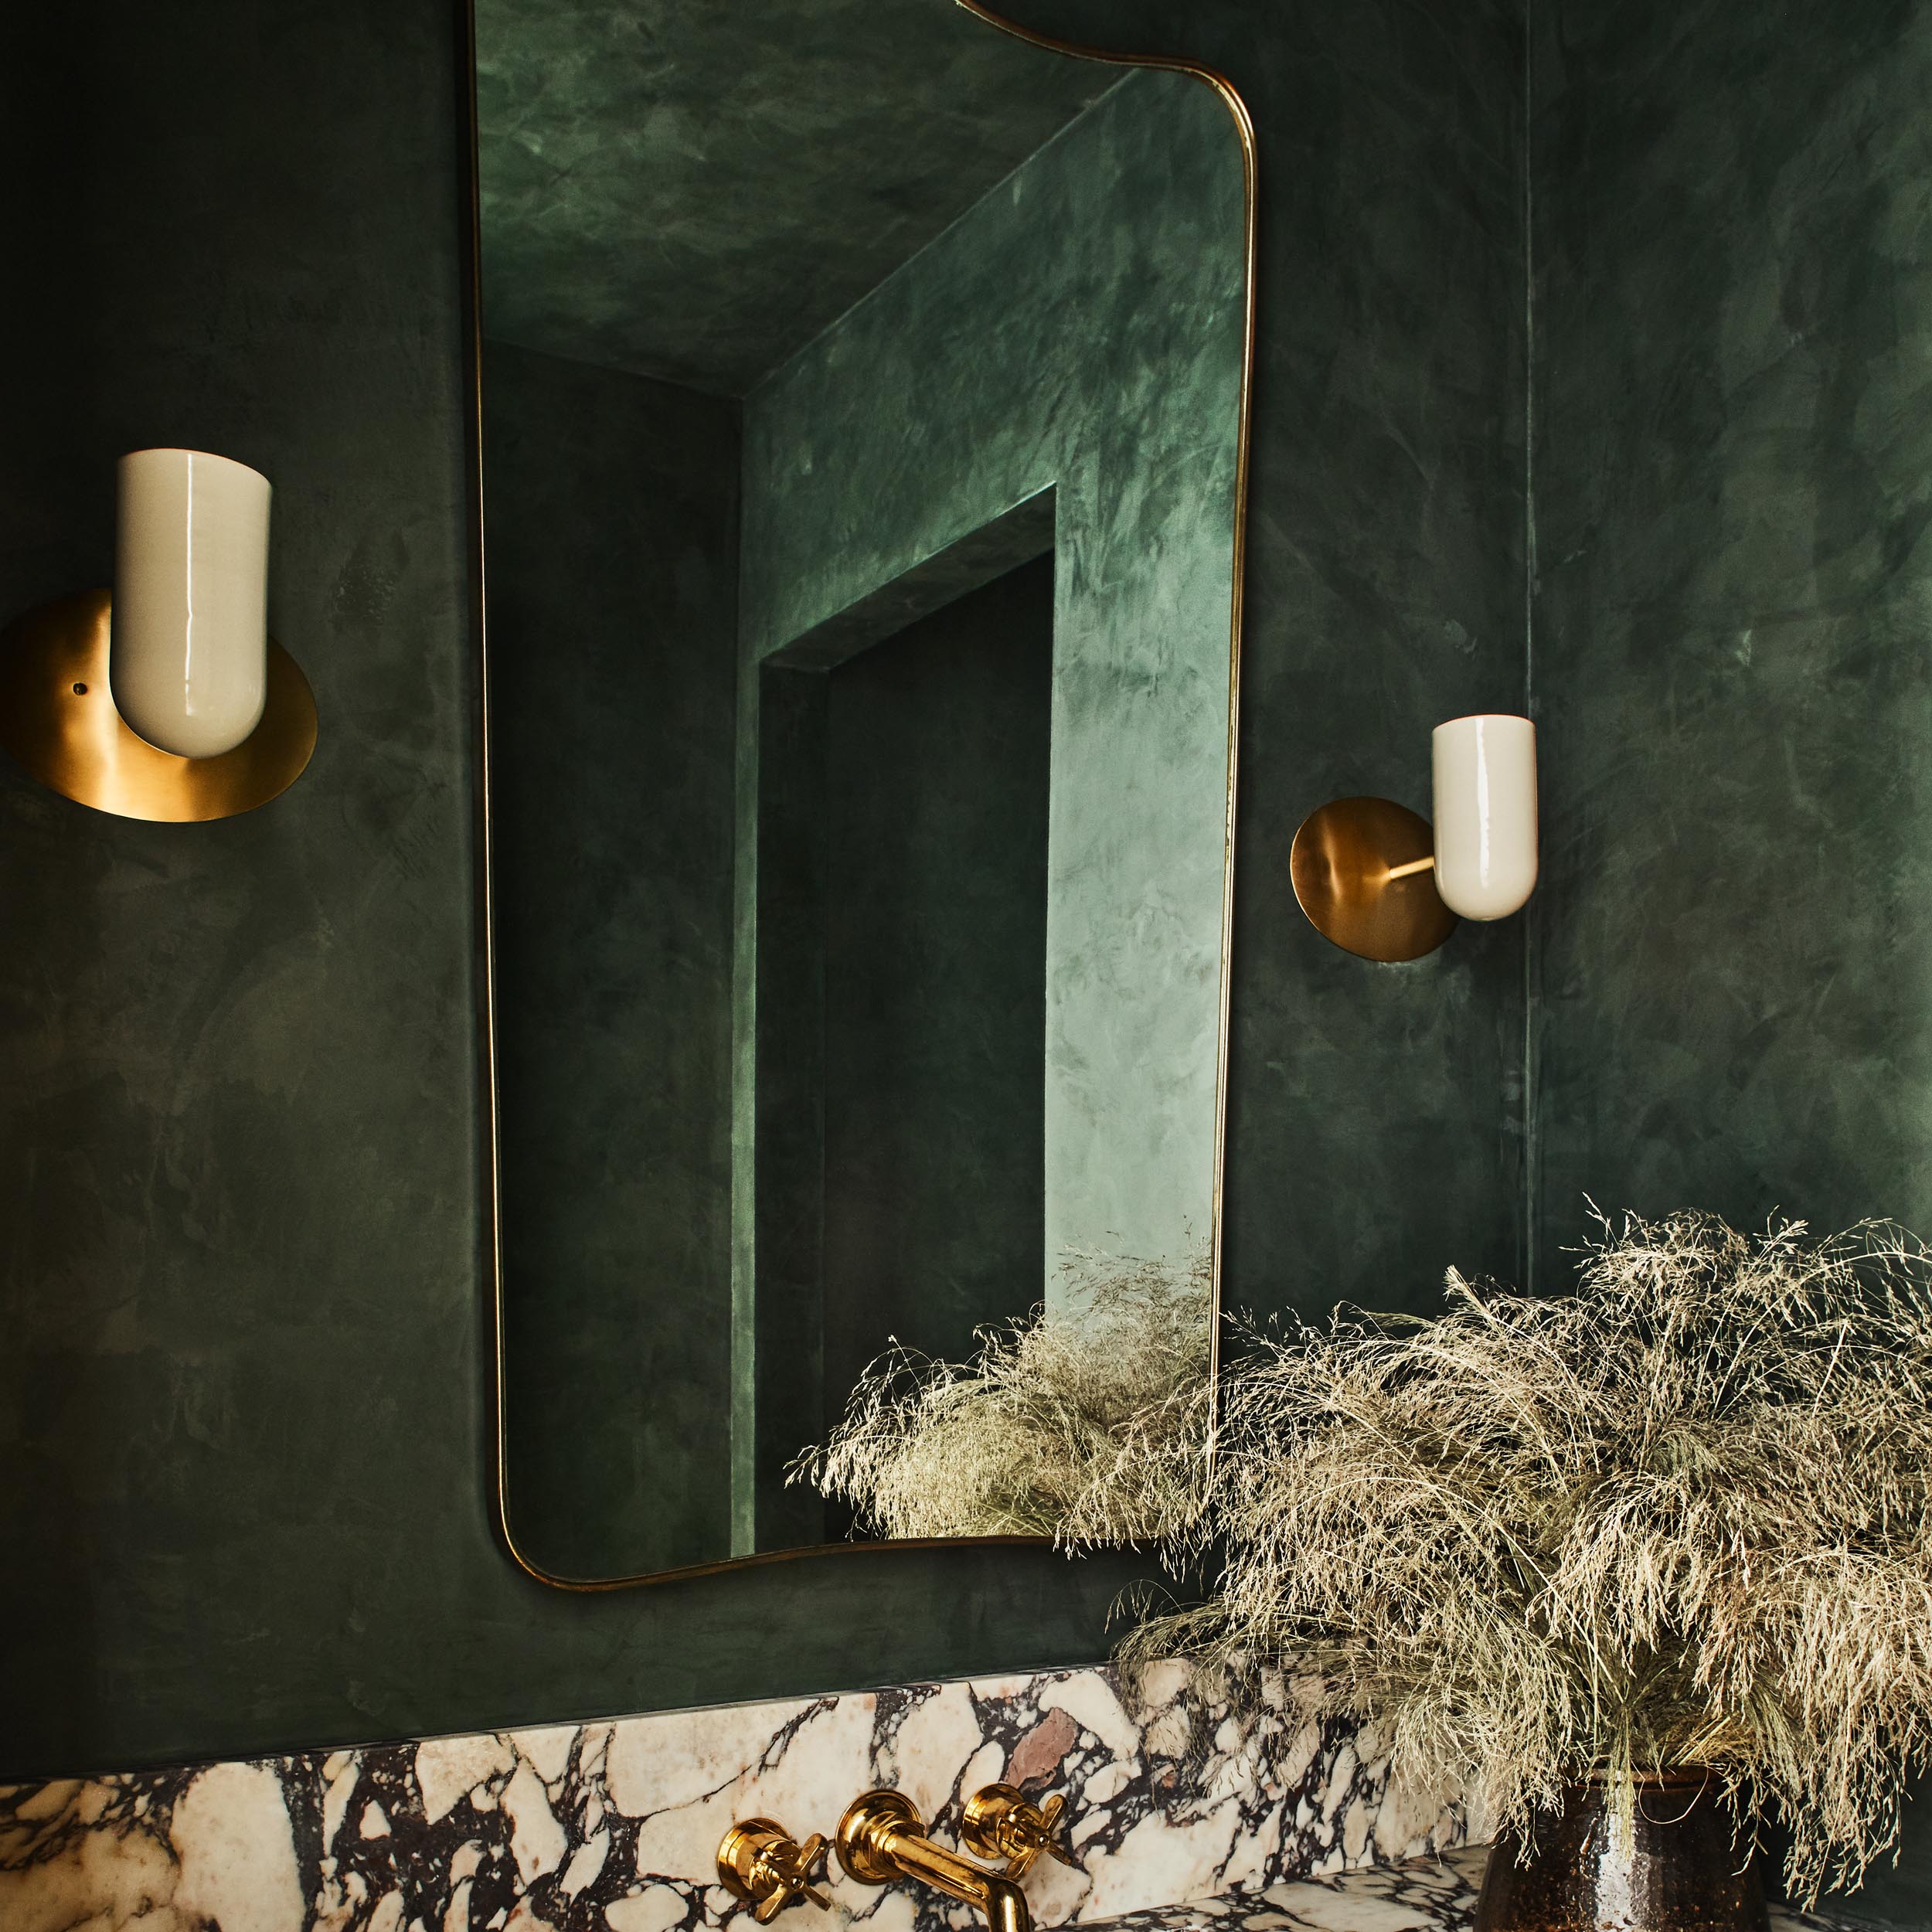
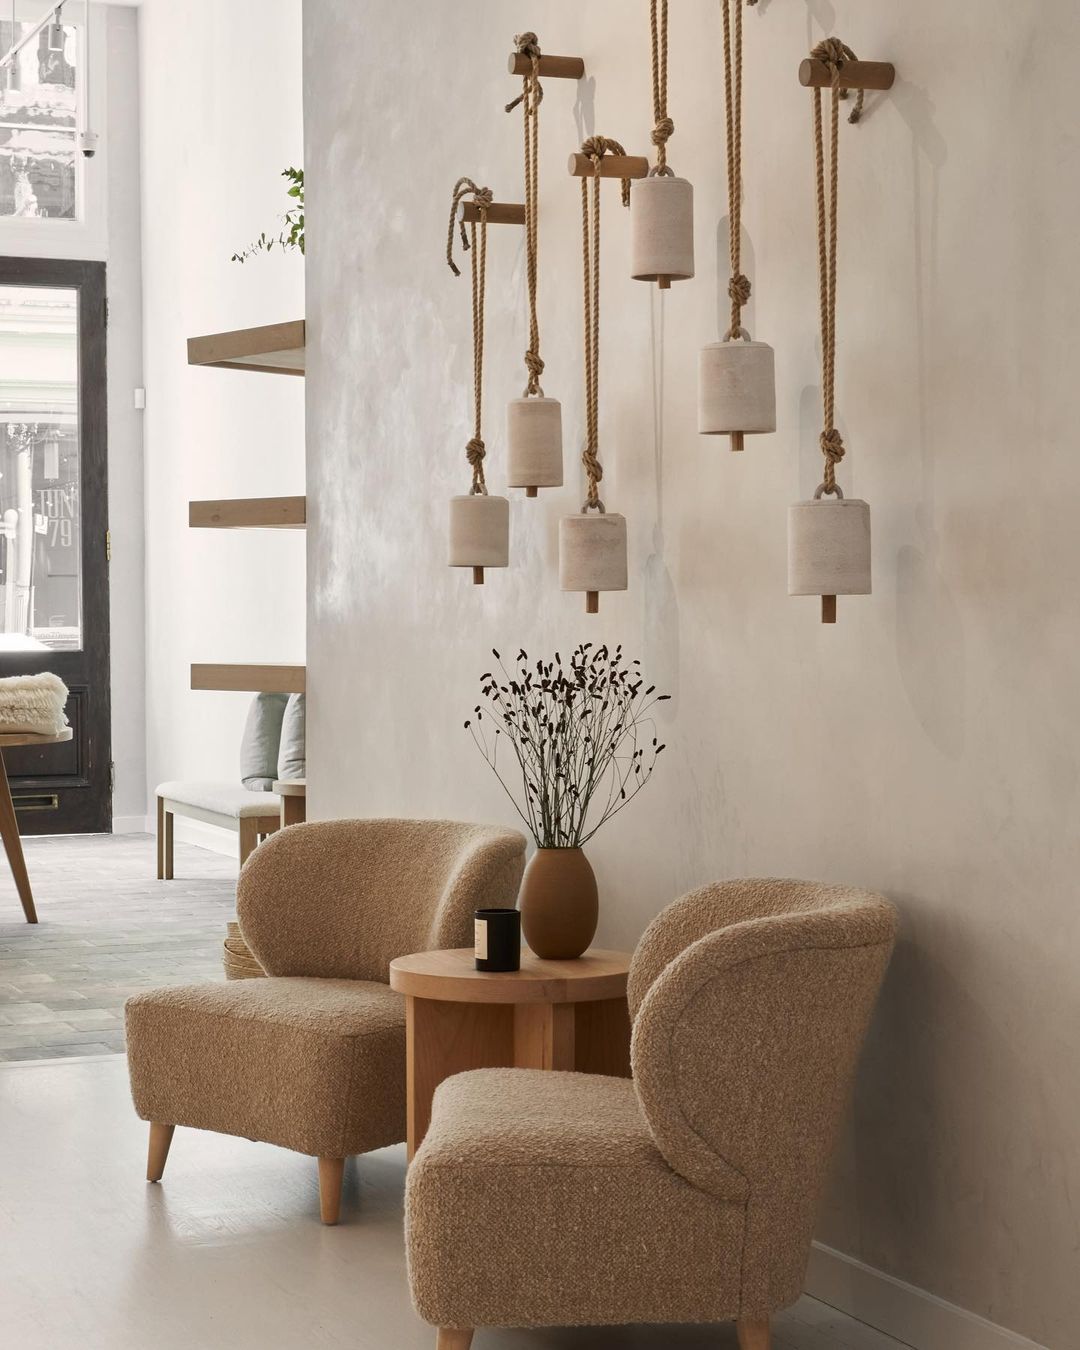
Photo 2 by @selliottphoto for @eyeswoon / Roman Clay by @kampstudios
Couldn't load pickup availability
Portola’s Roman Clay is an eco-friendly plaster-like finish ideal for smooth interior walls. Applied using a putty knife or trowel, Roman Clay provides a versatile finish able to achieve a wide range of stone, stucco and marble-like effects, making it a perfect fit in both traditional and contemporary settings.
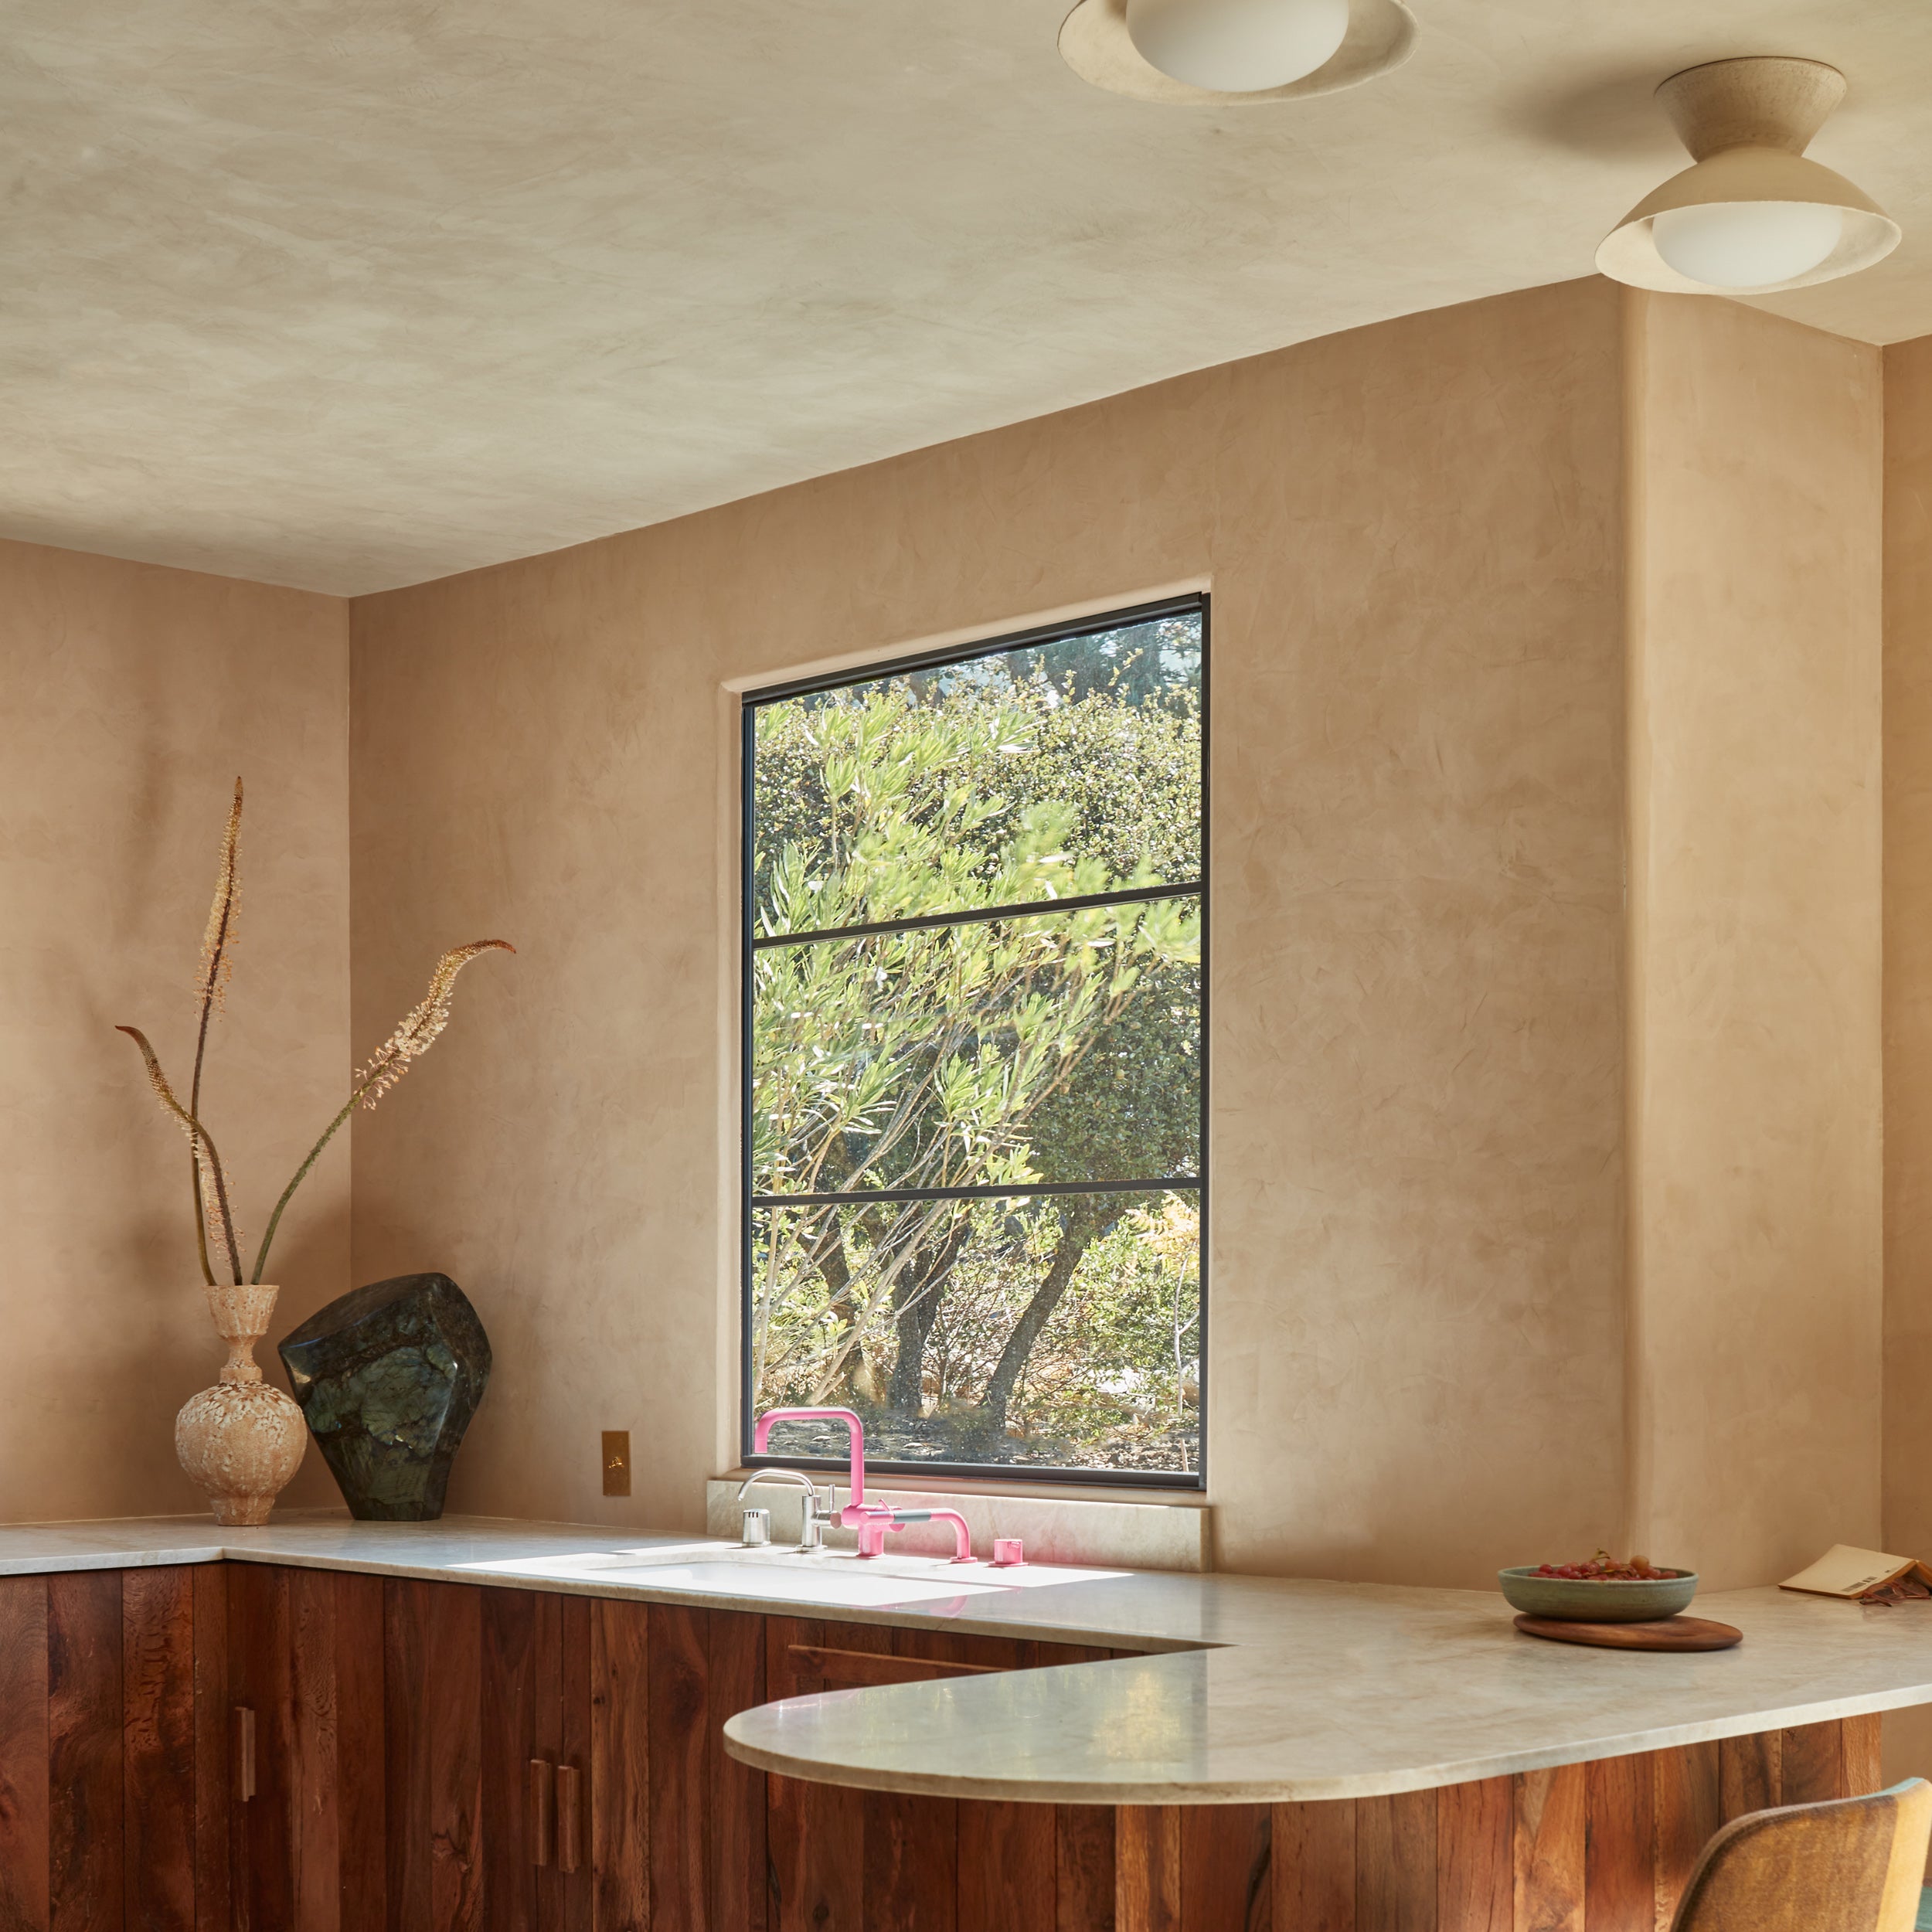
This decorative, clay-based coating is made from natural ingredients, contains *no VOC’s, and lends a rustic originality to interior surfaces. Roman Clay is smooth to the touch with a mottled marble-like effect, comparable to Venetian plasters but with a more subtle, organic appeal.
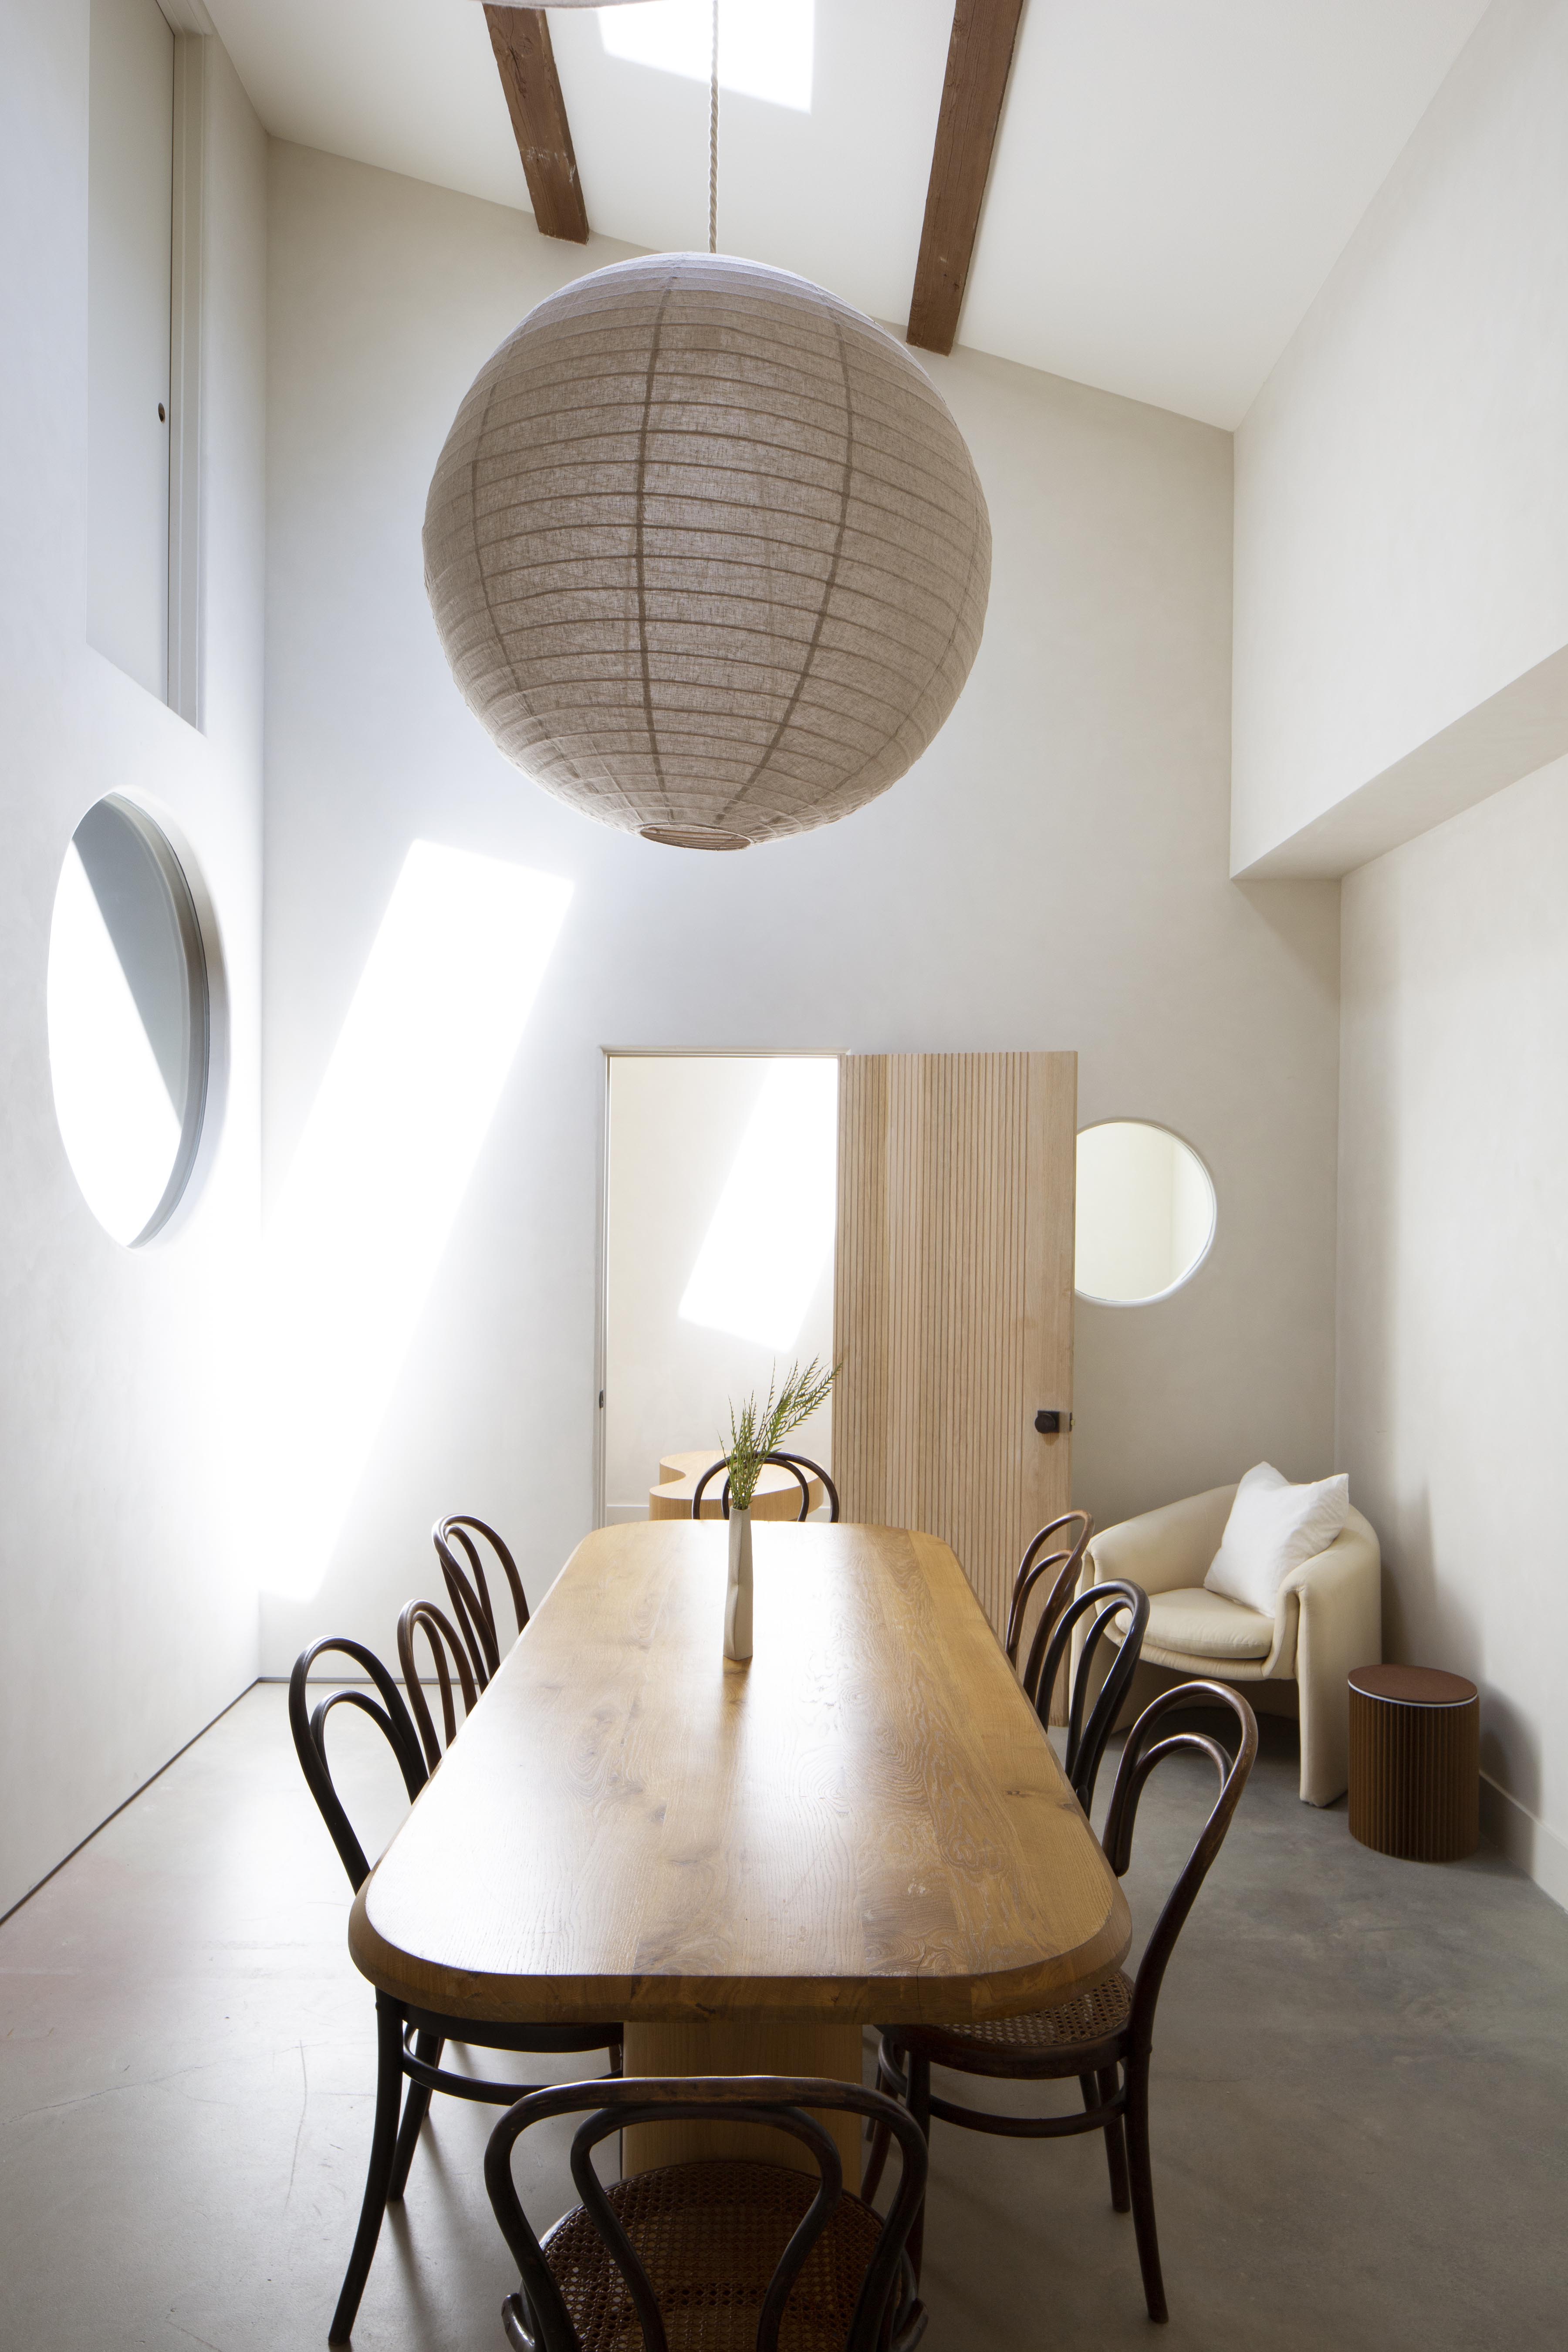
Achieve a natural, ultra low sheen finish by leaving the final coat unsanded or add a protective coating and slight sheen with Portola’s Roman Clay Topcoat.
Roman Clay is available in 75+ standard colors designed to showcase color palletes that are found in the beauty of nature.
**You may also want to consider our Portola Paints Lime Wash for a more subtle brush applied application if our Roman Clay is not suitable for your project.**
Roman Clay was designed for smooth interior drywall, preferably level 5 for the best results.
Roman Clay is not suitable for wet areas, like inside showers, or for exterior use. It was not designed for millwork like trim, doors, or cabinetry. We recommend our acrylic / enamel series for these specific applications.
Our Roman Clay is sold by weight not volume.
These square footage estimates are based on the average to include both a base coat and final coat.
Need assistance calculating your square footage? Click here
Substrate Preparation
Primer
Base Coat (Roman Clay)
Sanding
Final Coat (Roman Clay)
Roman Clay Topcoat (optional)
Roman Clay should be stored in a cool area out of direct sunlight.
For the best storage we recommend using a spatula to clean the sides and lid of the bucket to prevent material from drying up and falling into the material at the bottom.
Roman Clay is a decorative wall finish which can be more delicate than a regular paint in certain applications. Can act similar to a matte or ultra flat paint. A barely damp rag should be used to wipe down the sealed or unsealed finish to try to minimize potential permanent water marks from penetrating the finish. As long as the sealer (Roman Clay Topcoat) has been applied on top of the Roman Clay it is washable with light cleaning detergents. It is recommended to use a little mild dish soap without dyes or perfumes in warm water with the soft side of a sponge to clean scuffs.
If sealed, we would recommend re-applying the sealer every few years or so just to add an extra layer of protection if the Roman Clay is in high traffic areas.
Touch Ups
A touch up with Roman Clay can be attempted but it will be a little tricky to make it “seamless.”
Unsealed Roman Clay
Roman Clay with Topcoat
Important health & safety cautions: Inhalation of mist, dust or similar particulate matter resulting from spraying or sanding can be harmful. Use or apply only with sufficient ventilation. Wear NIOSH-approved N95 particulate filter mask when spraying or sanding. Do not ingest! If inadvertently swallowed, immediately drink 1 or 2 glasses of water and contact a physician. Dial 911 emergency services in the event of severe adverse reaction. Avoid contact with skin and eyes. In the event of eye contact, immediately flush with water for 15 minutes. In the event of skin contact, wash thoroughly with soap and water. Check to ensure that container is completely sealed after each use. Keep away from children.
Applicable to California residents:
WARNING: Cancer and Reproductive Harm – www.P65Warnings.ca.gov
Do you need matching paint for the rest of the room? Below are perfect color matches in other finishes.
Roman Clay is a paint/plaster hybrid material intended to be used on smooth interior walls. Roman Clay is applied in thin overlapping layers with a trowel or putty knife.
Applied with a putty knife or trowel, Roman Clay is a bit more time consuming to apply compared to traditional interior paints, but is very user friendly and very easily controlled. All the movement and dimension that you see in a finished product is visable during application.
Overlapping layers applied with a putty knife will create variation in color. Light colors will show less movement. Also, to avoid gray burnish marks you may want to use plastic putty knives.
Overlapping layers applied with a putty knife will create variation in color. Dark colors will show more movement. We recommend using flexible stainless steel knives for medium to dark colors.
Roman Clay Topcoat is a water based sealer that can be applied over any Roman Clay color to create a subtle sheen and a wipable surface. The Topcoat will darken the colors 10-20% depending on the shade. It is recommended for use in high traffic areas.
Learn about the differences between Lime Wash & Roman Clay! This informative video will help you choose the perfect finish for your space.
Which one will you choose?